

Hexagon Patterned Thank You Card Project
Create a beautiful thank you card and personalise it with your own design, colours, patterns and text.
What you’ll need
Ultimate Scrapbooking Kit
Scissors
Ruler
Marker
Blank folded card
Create a beautiful thank you card and personalise it with your own design, colours, patterns and text.
What you’ll need
Ultimate Scrapbooking Kit
Scissors
Ruler
Marker
Blank folded card
Create a beautiful thank you card and personalise it with your own design, colours, patterns and text.
What you’ll need
Ultimate Scrapbooking Kit
Scissors
Ruler
Marker
Blank folded card
Method
1. Start by setting up a clean working area and arranging all your required items. Decide your design and decide what colours you want. Here we have used 9 hexagons, but this depends on your design.
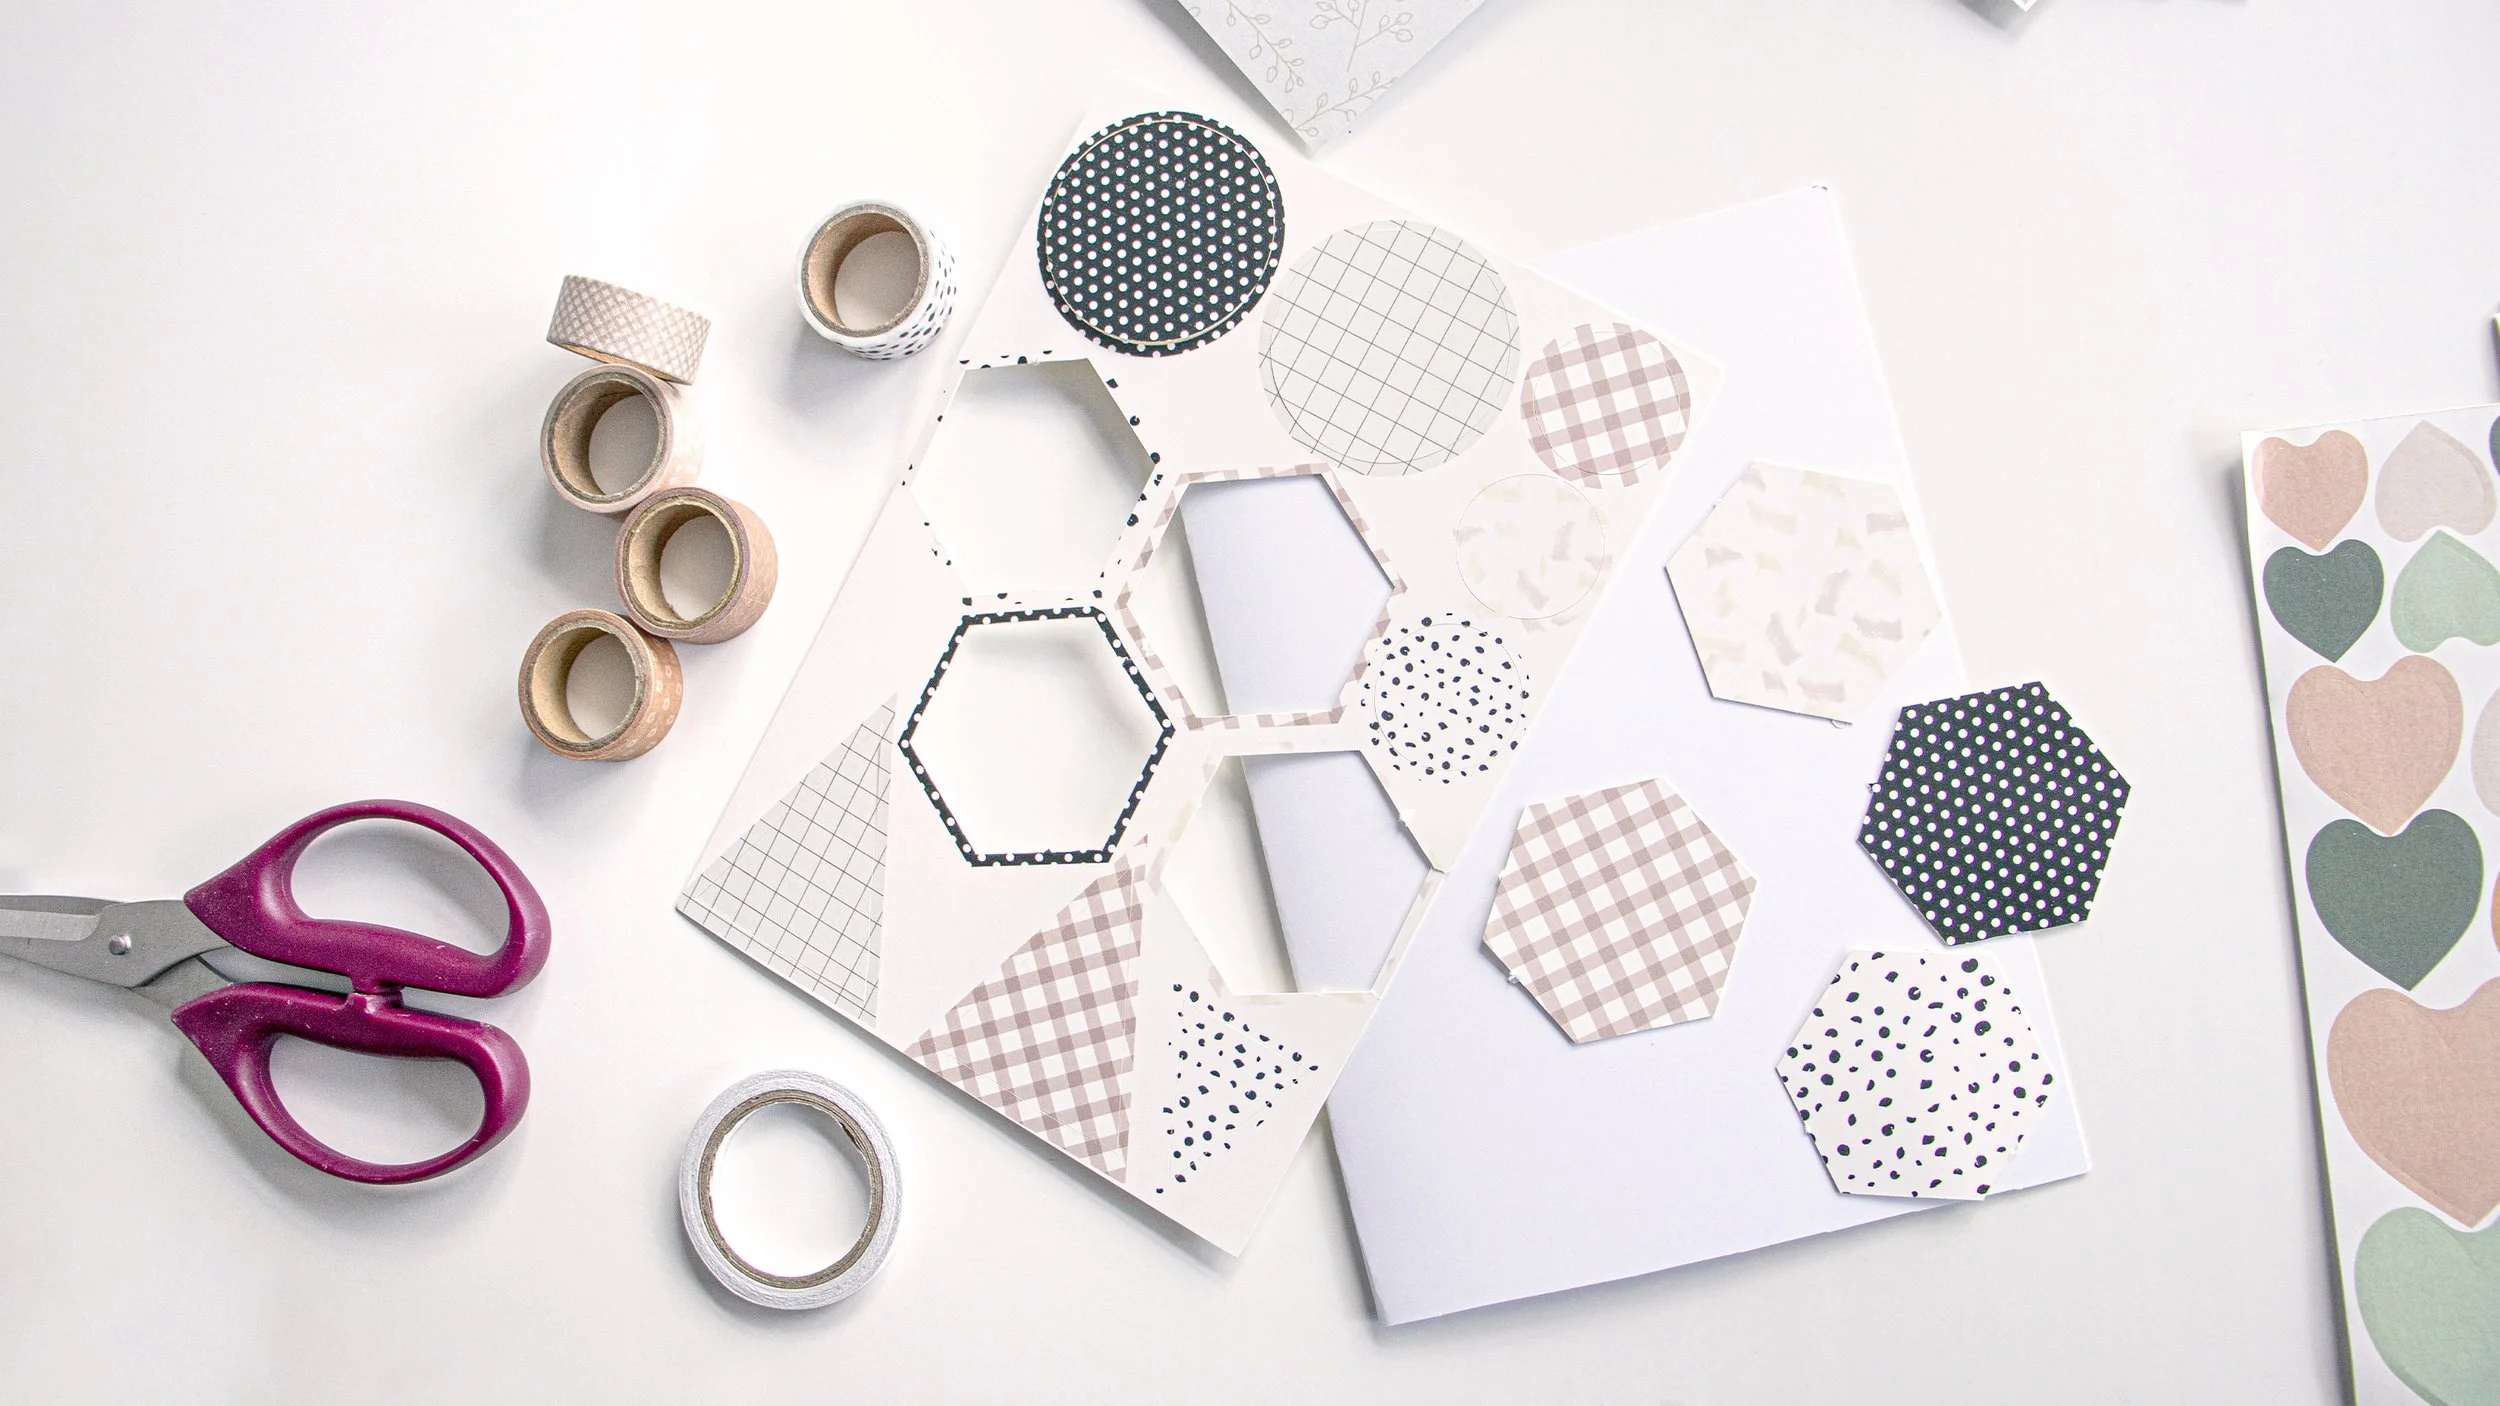
2. Depending on your design - you can use the die cut hexagons provided in the Ultimate Scrapbooking Kit or using one hexagon die cut as a shape reference, you can trace and cut out hexagons from the printed sheets for different colour ways.

3. To start, decide on your design and it is important to finalise how many hexagons you want to put on your card. There are 4 die cut hexagons in the Ultimate Scrapbooking Kit. To create more, simply use the negative from the die cut sheet to trace the correct size of hexagons on the back of the printed sheets of your choice.

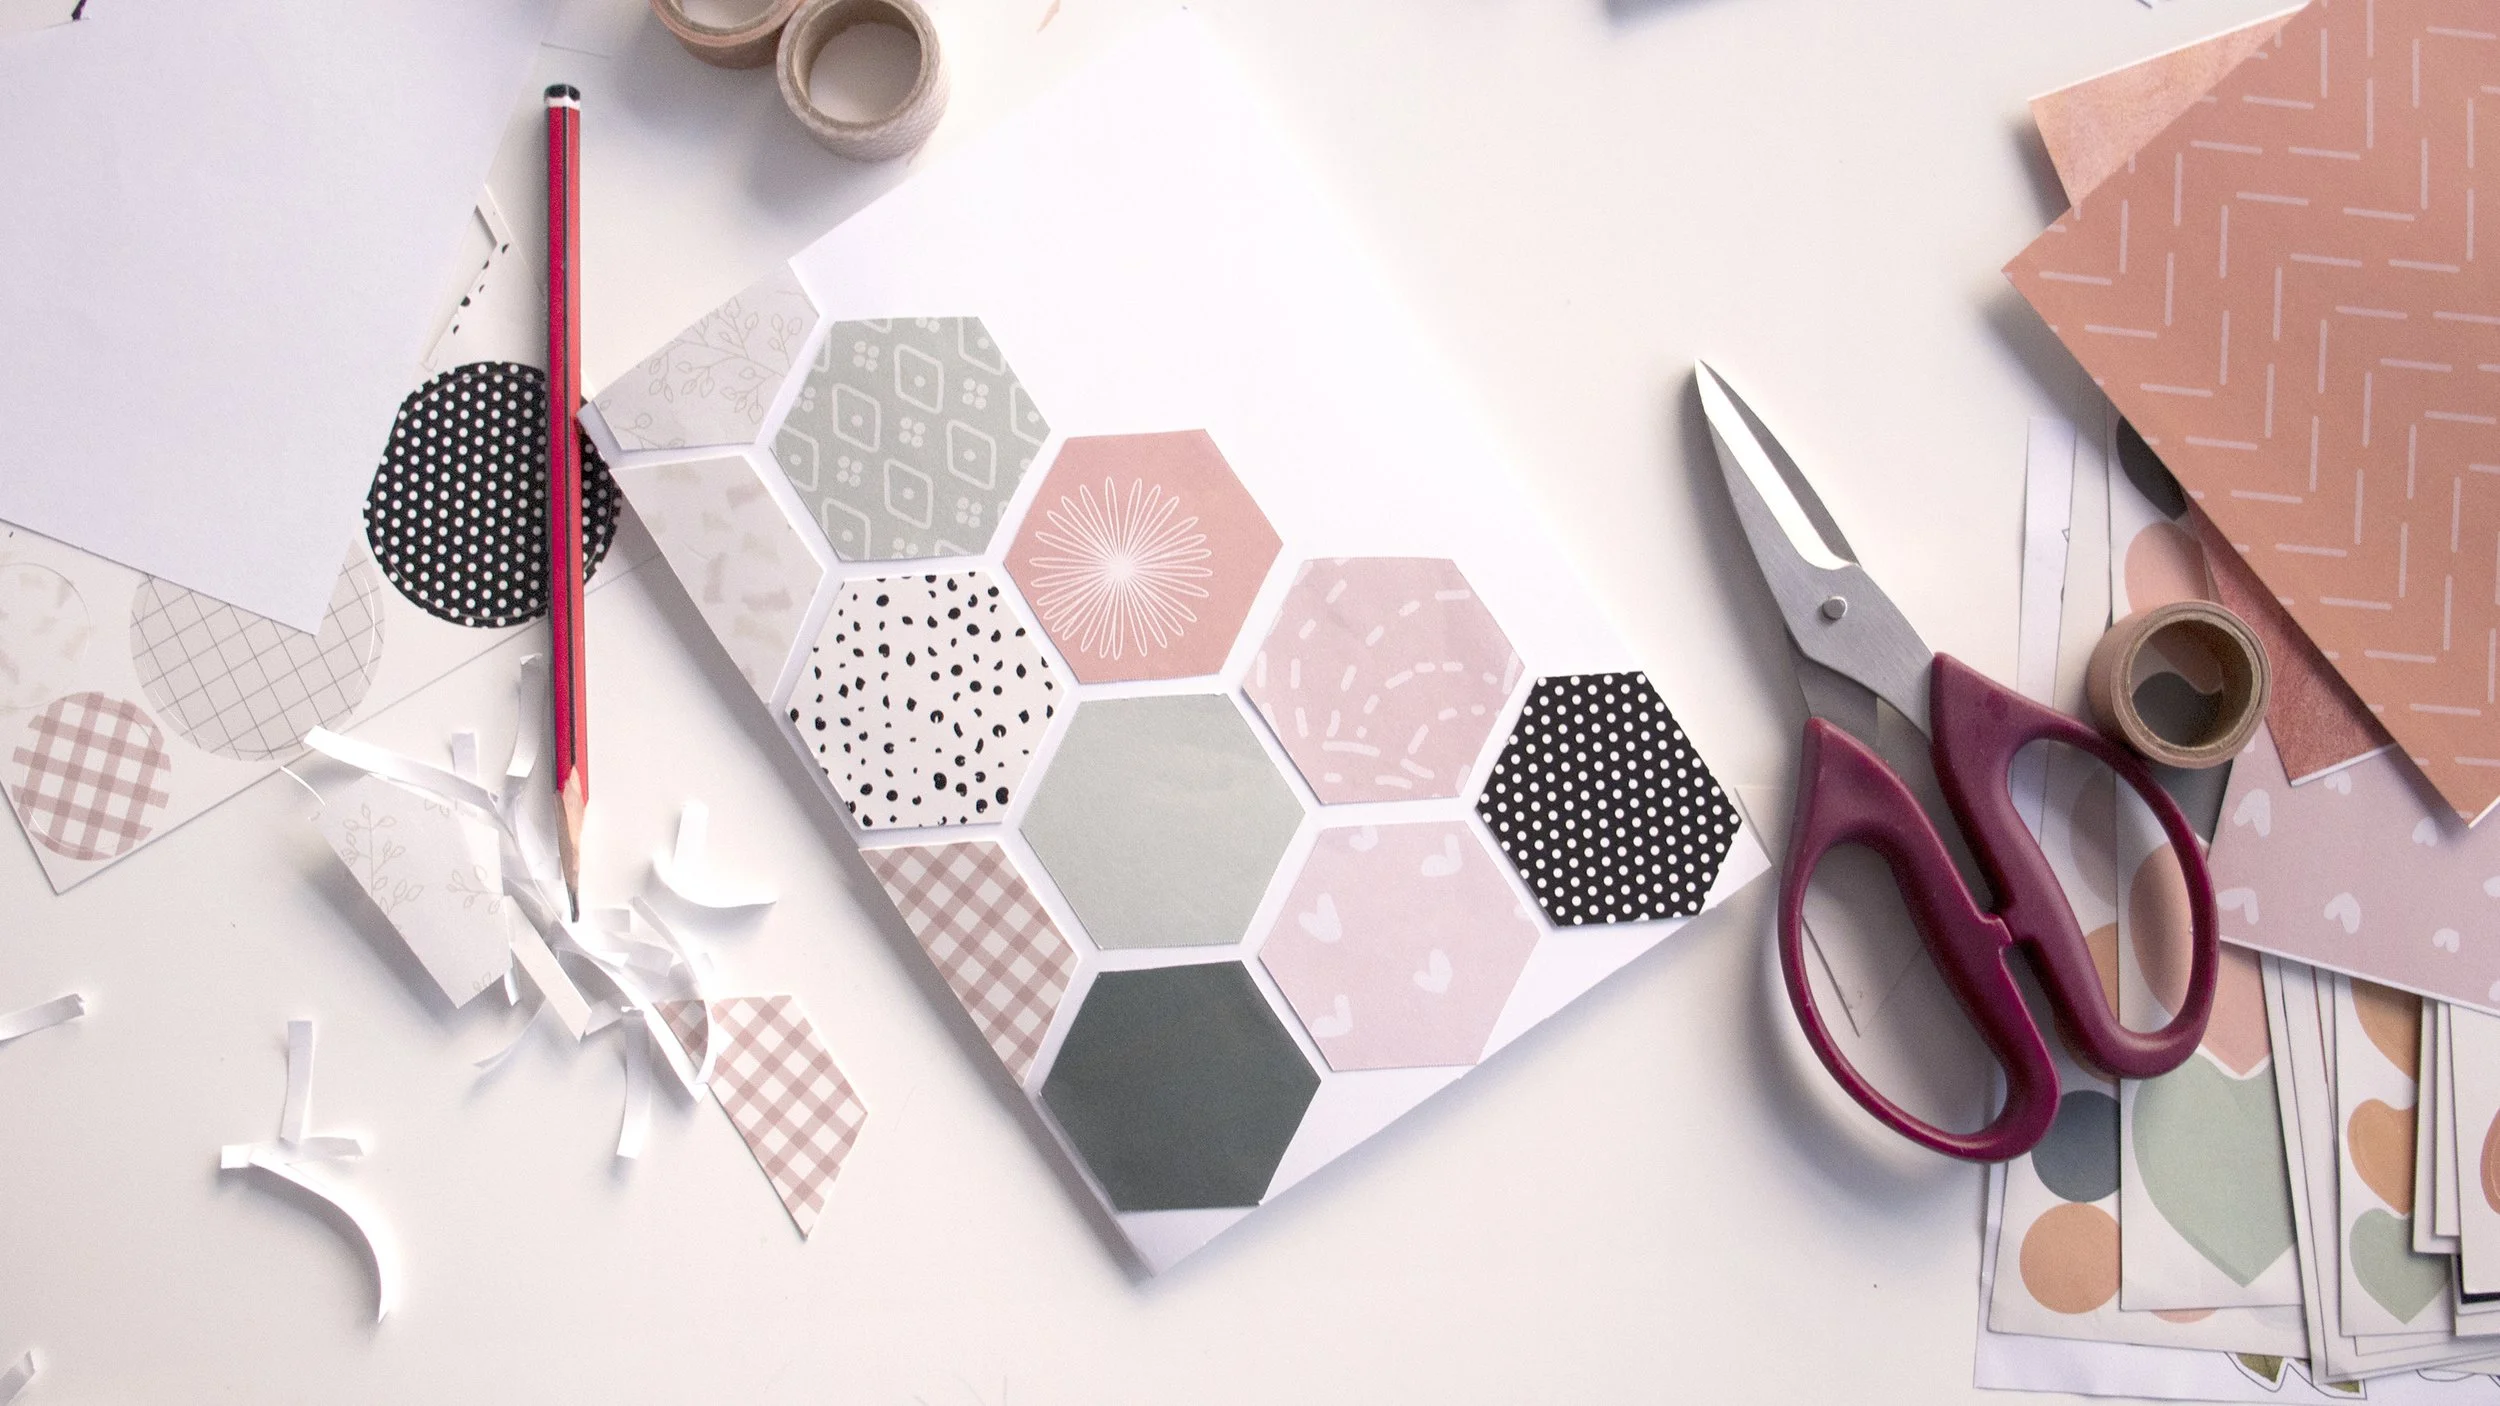
4. Here we have created 9 hexagons. Once you are happy with the hexagons - start laying them out and decide their position on the card.

5. Once you are happy with the layout, then using the double-sided tape provided in the Ultimate Scrapbooking Kit to stick the hexagons. To stick, simply cut off some double-sided tape and stick the adhesive surface onto the back of the hexagon. Then remove the plastic covering off to reveal the second adhesive surface. Then reverse and stick onto the card.

6. Repeat until all the hexagons are stuck in place. Cut off if there are any excess ones.
7. You can finish the card here or you may add washi tape, provided in the Ultimate Scrapbooking Kit. To do this, simply decide which pattern you want and stick the washi tape on the edges to get a coloured trim edge. This will really give the card a finished look.
8. To finish, simply write your note or use the alphabet stickers from the kit to add a greeting! Your card is ready!
